
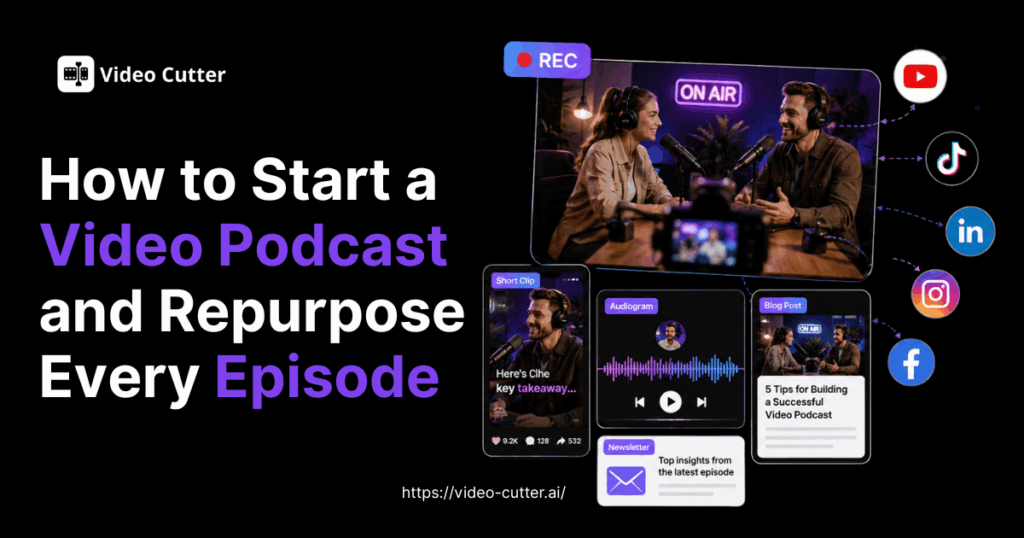
According to YouTube, more than 1 billion people view podcast content on the platform each month. That audience is enormous, but simply publishing a 50-minute conversation does not guarantee that its best ideas will be discovered. A Podcast to Video workflow helps the sharpest answer, funniest exchange, and most useful explanation travel beyond the full episode.
That is the real challenge when learning how to start a video podcast. Recording the show is only half the job. A sustainable workflow must also turn each episode into clips that attract new viewers, give existing followers a reason to return, and keep working between releases.
You do not need a professional studio or a large production team. A clear format, dependable audio, one well-framed camera, and a repeatable editing process are enough to begin.
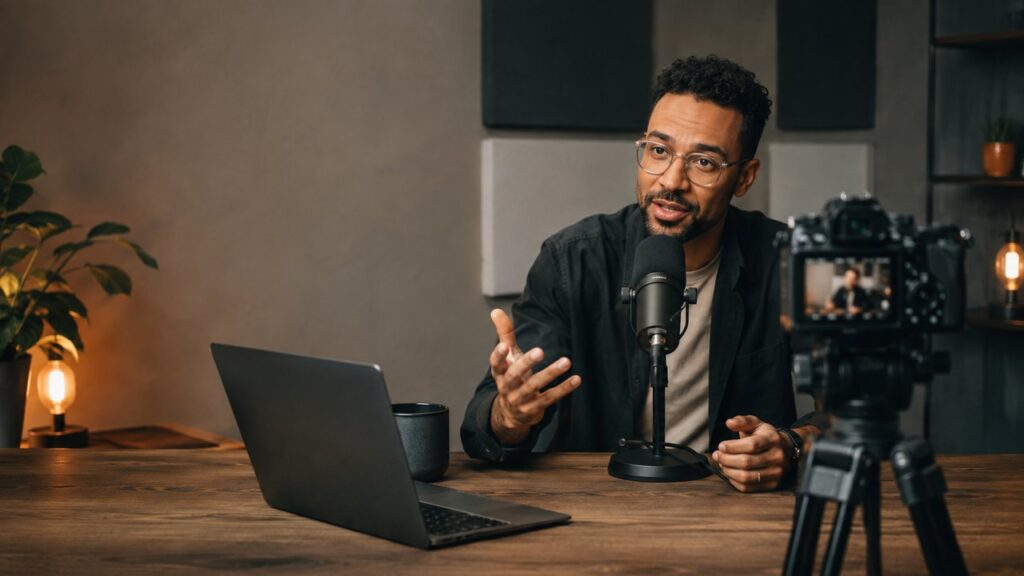
What Do You Need to Start a Video Podcast?
The best video podcast setup is not the one with the longest shopping list. It is the one you can operate consistently without turning every recording day into a technical project.
A Clear Topic and Target Audience
Start with the promise of the show, not the gear. A useful concept answers three questions:
- Who is the podcast for?
- What problem, interest, or ambition does each episode address?
- Why is video important to the experience?
“A podcast about business” is too broad. “Honest 30-minute conversations with first-time founders about mistakes made before launch” is specific enough to guide guests, episode titles, visuals, and promotion.
Decide on a repeatable format as well. You might record solo explanations, remote interviews, in-person conversations, or panel discussions. The format affects everything from the number of microphones to the amount of editing required.

Essential Video Podcast Equipment
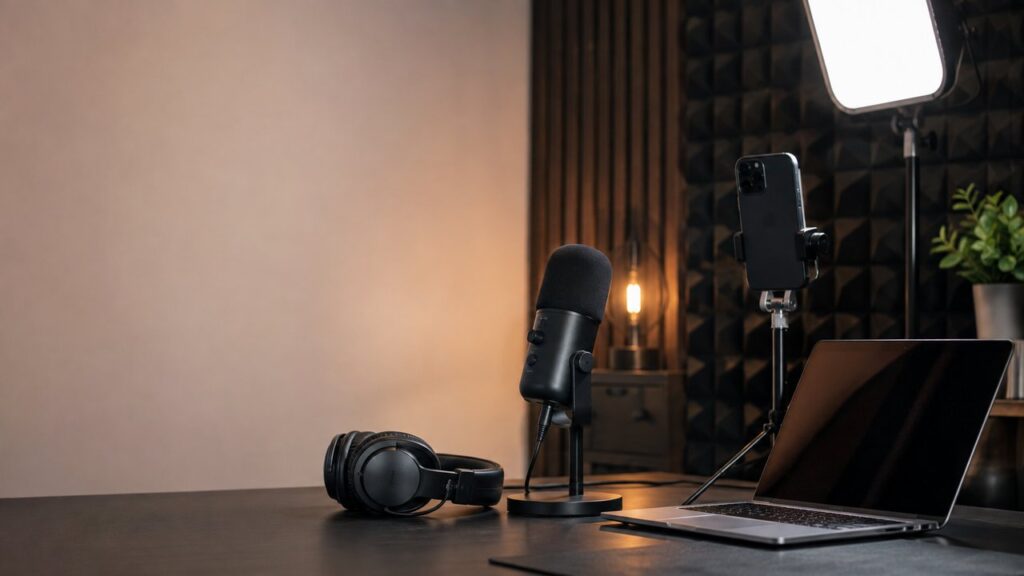
A practical beginner video podcast setup needs five things:
- Camera: A recent smartphone, webcam, or camera capable of recording a clean 1080p image.
- Microphone: A USB dynamic microphone is a simple choice for one speaker. Two or more in-person speakers usually need separate microphones and an interface or recorder.
- Headphones: Closed-back headphones help you catch hum, clipping, and connection problems before they ruin a full episode.
- Lighting: One soft light placed slightly above eye level often improves an image more than an expensive camera in a dark room.
- Stable support: Use a tripod or secure mount to keep the frame consistent.
For a realistic beginner budget, start with the camera you already own and spend first on a microphone, stable mount, and simple light. Viewers may accept a basic image, but unclear audio will make them leave quickly.
A Realistic Video Podcast Budget
If you already own a suitable phone or webcam, plan roughly $100–$300 for a basic solo setup: about $50–$120 for a USB microphone, $20–$50 for a tripod or mount, and $30–$100 for a simple light. Existing wired headphones can handle monitoring at first, keeping the initial cost closer to the lower end of the range. A new webcam, extra microphone, or upgraded lighting will move the total toward $300. Treat these figures as planning ranges rather than fixed prices, since local pricing and the number of speakers can change the total quickly.
Recording and Podcast Video Editing Software
Choose software based on where the conversation happens. Local recording works well when everyone is in the same room. A remote recording platform that saves each participant separately gives you more control when guests join online.
Your editing software should at least let you cut mistakes, adjust audio levels, add captions, and export a finished episode. For promotion, Video Cutter AI provides Podcast to Video, which can reduce the time spent searching a long recording for usable moments and rebuilding each one for short-form platforms.
How to Start a Video Podcast Step by Step
A simple production sequence prevents small decisions from piling up during recording and editing.
1. Choose Your Video Podcast Format
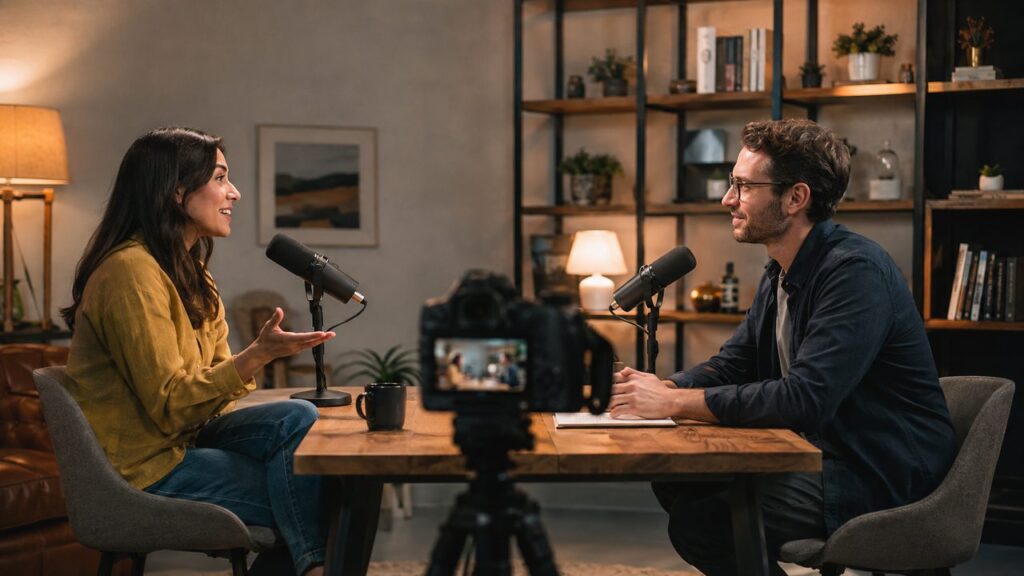
Choose between a solo show, remote interview, in-person conversation, or panel. Start with the format you can record consistently, since additional speakers and cameras create more editing work. Also decide whether episodes will be recorded, livestreamed, or both; recorded shows offer more control, while livestreams leave less room to correct problems.
2. Plan the Episode Before Recording
Write an outline rather than a word-for-word script. Include the opening promise, three to five main topics, important examples, and a clear ending. For interviews, arrange questions so the conversation builds instead of jumping between unrelated subjects.
Planning for clips at this stage makes repurposing easier later. Add prompts likely to produce self-contained answers, such as:
- What is the biggest mistake beginners make?
- Can you explain that in three steps?
- What changed your mind about this topic?
- What should someone do first?
These questions encourage concise stories, strong opinions, and useful takeaways that can stand alone outside the full episode.
3. Set Up Your Camera, Microphone, and Lighting
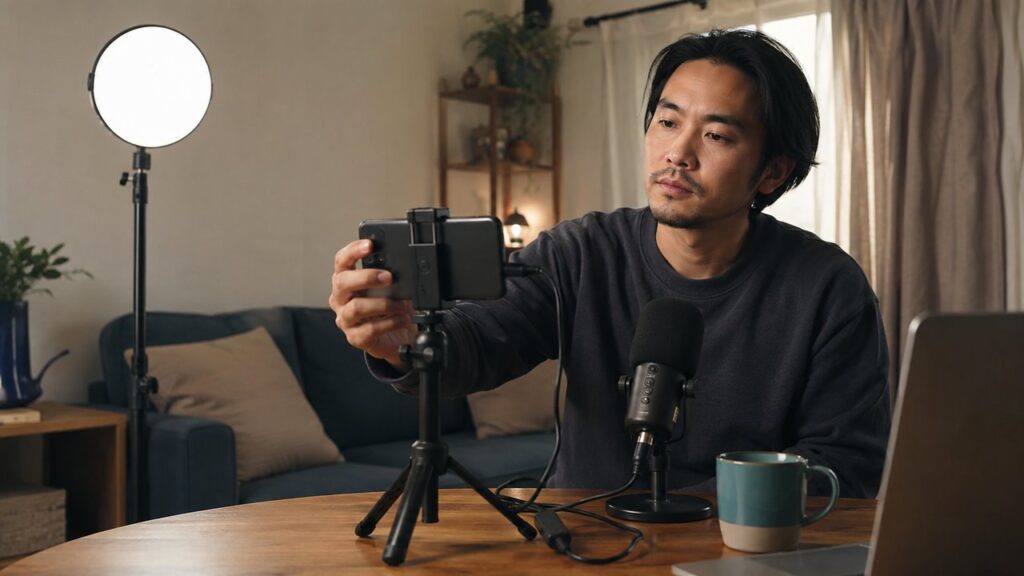
Place the camera at eye level and leave enough space around the speaker for a later vertical crop. Keep the microphone close, listen through headphones, and remove obvious background noise. Use one soft light in front of the subject, avoid bright windows behind the host, and lock exposure and white balance when possible.
4. Record High-Quality Audio and Video
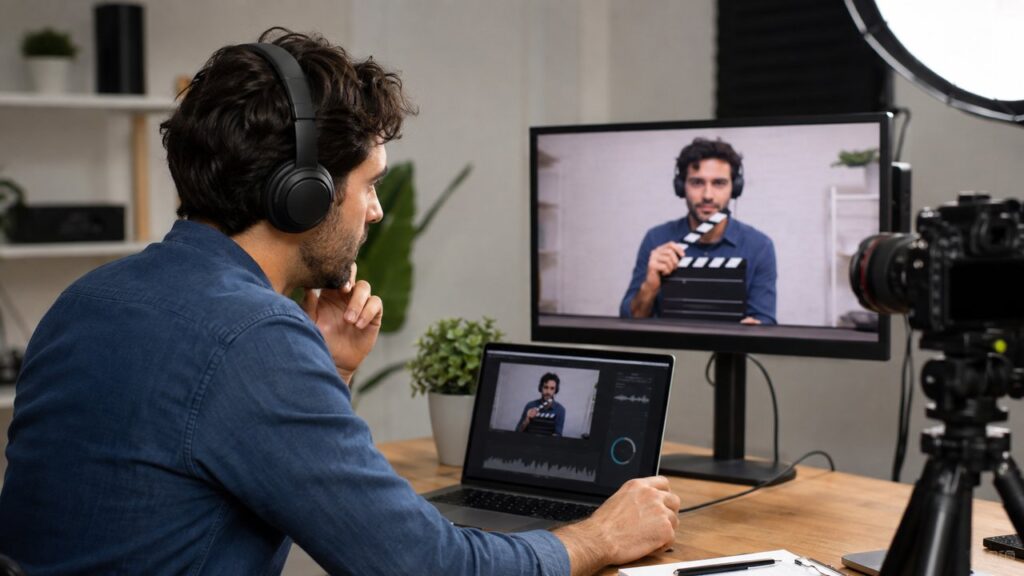
Record a 30-second test and review it before starting the episode. Check focus, framing, audio clarity, background distractions, and available storage. If audio and video are recorded separately, clap once on camera to create an obvious synchronization point.
During the conversation, pause and restart a sentence after a major mistake. Clean restarts are faster to edit than tangled corrections. Leave a short beat between sections, and avoid talking over a guest when they are making an important point.
Whenever possible, record each speaker on a separate audio track. This lets you balance voices and remove noise without affecting everyone else.
5. Edit and Publish Your First Episode
Build the full episode before creating promotional clips. Remove failed starts, technical interruptions, repeated explanations, and anything the guest asked to cut. Keep natural pauses and reactions when they support the conversation.
Add a concise opening that tells viewers what they will gain. Check audio levels and names, then export a clean master with a searchable title and clear thumbnail. When publishing, turn on captions and review the transcript for obvious errors.
Publish on a schedule you can maintain. A strong episode every two weeks is more valuable than an ambitious weekly plan that collapses after a month. Once the master episode is ready, create promotional clips without rebuilding the entire project for every post, as shown in the repurposing section below.
How to Edit a Video Podcast for Better Viewer Retention
Podcast video editing should protect the substance of the conversation while removing the friction that makes viewers leave.
Remove Pauses, Mistakes, and Repetitive Sections
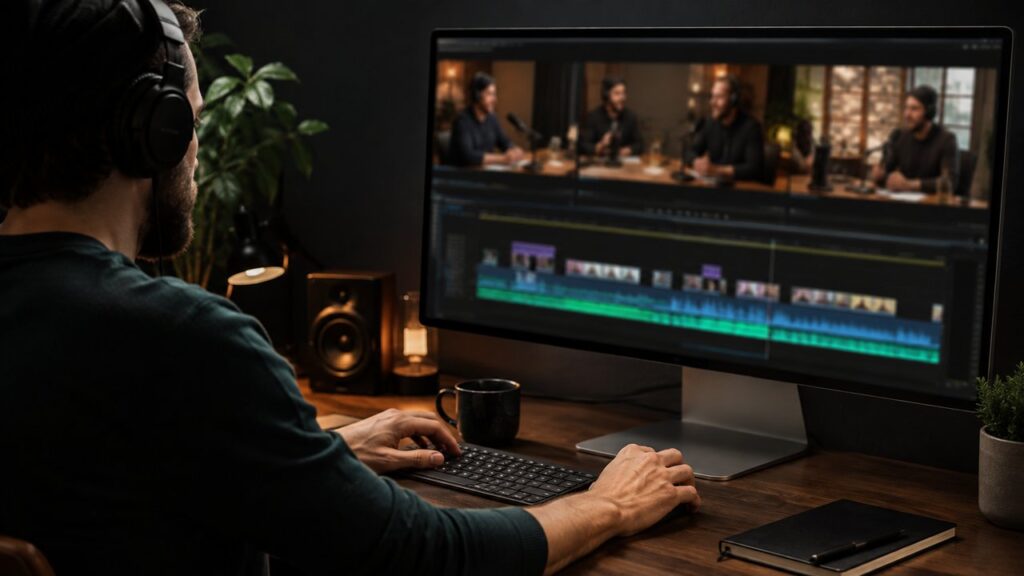
Cut technical delays, off-topic detours, duplicated answers, and silence that does not add tension or meaning. Do not remove every breath or micro-pause. Natural rhythm makes people sound human, while aggressive jump cuts can become distracting.
Use reaction shots or a wider angle to hide necessary edits in multi-camera footage. With a single camera, make fewer, more purposeful cuts and use subtle reframing only when it improves clarity.
Tighten the Opening and Highlight Key Moments
The opening should make a specific promise quickly. Instead of beginning with a long biography, preview the problem or insight at the center of the episode. A short excerpt from a strong later moment can work when it creates curiosity without giving away the complete answer.
As you edit, mark stories, surprising claims, practical steps, disagreements, and concise explanations. These markers become the starting pool for short-form content after the full episode is complete.
Add Captions and Platform-Friendly Visuals
Accurate captions improve accessibility and make clips understandable when viewed without sound. Keep lines short, place text inside safe areas, and correct names or specialist terms before publishing.
Use graphics selectively. A title card, speaker label, relevant screenshot, or simple diagram can clarify a point. Constant motion, decorative stock footage, and oversized captions may compete with the speaker rather than support the message.
How to Repurpose Podcast Content With AI
Repurposing does not mean cutting random 30-second excerpts. Each short video needs its own opening, central idea, and conclusion. One excellent clip is more useful than five confusing fragments.
Upload Your Full Video Podcast Episode
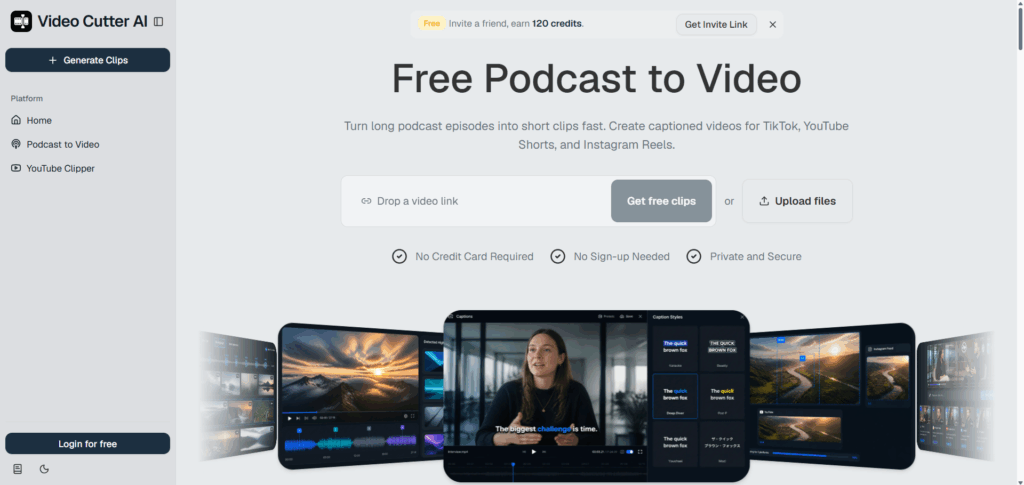
With Video Cutter AI, start with the final master or a clean recording. Upload the video file or paste the episode link so the system has the cleanest possible material for captions and moment selection.
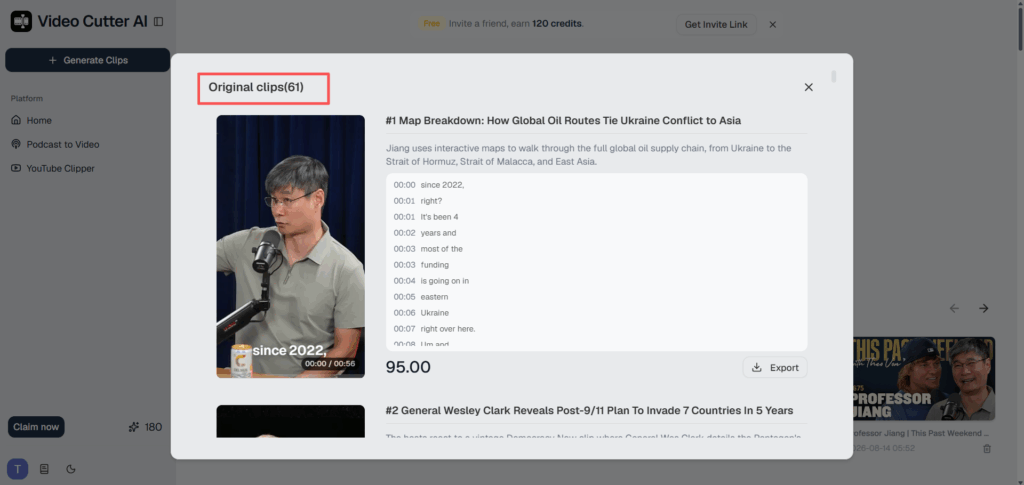
Podcast to Video can analyze the episode, identify promising sections, add captions and visuals, and prepare vertical, square, or landscape versions. This removes much of the repetitive setup while leaving the creator responsible for the final editorial check.
Find the Most Engaging Moments
Review suggested clips for meaning, not just energy. A good segment communicates one clear idea, makes sense without the full discussion, reaches the point quickly, and ends naturally. Stories, counterintuitive opinions, practical frameworks, and direct answers often perform well because they give viewers a reason to keep watching.
If selecting excerpts is the hardest part of your workflow, the related guide on how to find good clips in a long video provides a focused checklist for judging context, clarity, and standalone value.
Before and After: Turning a Slow Answer Into a Strong Podcast Clip
Before editing: A guest takes 75 seconds to answer a question about landing a first client. The response begins with background about a previous job, includes two long pauses and a repeated sentence, and does not reveal the main lesson until the 40-second mark. The advice is useful, but a new viewer has little reason to wait for it.
After editing: Start with the guest’s clearest line: “Your first client is more likely to come from a conversation than a cold pitch.” Keep the next 25 seconds explaining how to contact former colleagues, remove the repeated setup, and end after the practical takeaway. Add accurate captions and a short on-screen headline such as “A Better Way to Find Your First Client.”
The edited clip is shorter, but speed is not the only goal. It preserves the complete idea, introduces the value immediately, and reaches a natural conclusion. Before exporting, check that removing the original setup has not changed the speaker’s meaning.
Turn One Episode Into Multiple Short Videos
Aim for variety rather than a fixed number. A single episode might produce:
- A surprising statement that challenges a common assumption
- A practical three-step explanation
- A personal story with a clear lesson
- A short answer to a common audience question
- A quote that invites discussion
Edit each clip as an independent piece. Begin close to the strongest line, include only the context needed to understand it, and finish after the payoff. For a complete repurposing workflow, see how to turn one podcast into multiple short videos.
Adapt Podcast Clips for Different Platforms
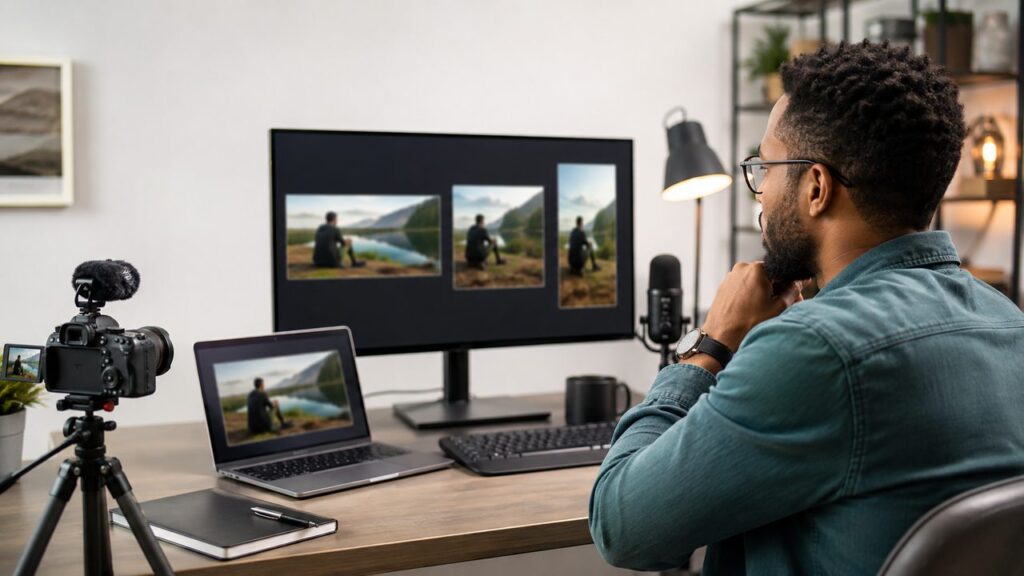
Do not publish an identical asset everywhere without checking how it appears. Vertical framing suits TikTok, Instagram Reels, and YouTube Shorts, while landscape can work better for full YouTube episodes and embedded website video. Square remains useful in some feeds.
Keep faces and captions away from interface elements. Adjust the headline, caption, and call to action to match the audience on each platform. A LinkedIn post may lead with the business lesson, while the same clip on TikTok may open with the surprising claim.
Where to Publish and Promote Your Video Podcast
Choose one home for full episodes and a small number of discovery channels. Trying to master every platform at launch usually creates more work than reach.
YouTube and Long-Form Video Platforms
YouTube is a natural home for searchable, full-length video podcasts. Use a descriptive title rather than only the guest’s name and episode number. Add chapters and group episodes in a dedicated podcast playlist.
Where your publishing workflow supports it, syndicate the full episode to the video platforms you use, such as YouTube, Facebook, and X. Keep titles, cover art, and episode descriptions recognizable across platforms.
TikTok, Instagram Reels, and YouTube Shorts
Short-form platforms introduce the show to people who are unlikely to discover a 60-minute episode first. Publish clips that deliver value independently, then point interested viewers toward the complete conversation. Educational clips may earn saves, opinions may generate comments, and personal stories may produce stronger watch time. Use what performs best to shape future episodes.
Social Posts, Newsletters, and Your Website
Repurpose the ideas as well as the footage. Turn a strong answer into a text post, quote graphic, newsletter section, or short article. Embed the full episode with a summary and key points so viewers have several ways to discover it.
Common Video Podcast Mistakes to Avoid
Spending Too Much on Equipment Too Early
Buying several cameras before testing the concept adds cost and complexity. Start with a setup you can operate alone, then upgrade when audience feedback or production needs justify it.
Recording Without a Repurposing Plan
If you wait until the end to think about clips, you may discover that every useful quote depends on ten minutes of context. Build clip-friendly questions into the outline, frame the shot with vertical crops in mind, and mark strong moments during recording.
Publishing the Same Cut on Every Platform
Aspect ratio is only part of adaptation. Each platform has different viewing habits and interface constraints. Review the opening, text placement, caption, and ending before posting.
Video Podcast FAQs
What Equipment Do You Really Need to Start a Video Podcast?
You need a camera or smartphone, microphone, headphones, stable mount, light source, and recording software. Start with one camera and prioritize clear audio and reliable lighting. Add equipment only when the format requires it.
Can You Record a Professional Video Podcast With a Phone?
Yes. Mount a recent phone at eye level, use an external microphone, and record in controlled lighting. Clean the lens, lock focus and exposure, and check storage before starting.
How Much Does It Cost to Start a Video Podcast?
If you already own a suitable phone or webcam, budget roughly $100–$300 for a basic solo setup with a USB microphone, tripod or mount, and simple light. Adding another microphone and the equipment needed for an in-person guest can move the total toward the upper end of that range.
Do You Need Multiple Cameras for a Video Podcast?
No. One camera is enough for a solo show or two-person wide shot. Multiple cameras add visual variety and help hide edits, but they also increase synchronization, storage, and editing work.
How Do You Keep Podcast Audio and Video in Sync?
Clap once at the beginning to create a visible spike on every track, then align those spikes in the editor. Check lip movement later for drift and keep frame and sample rates consistent.
How Do You Turn a Full Video Podcast Into Short Clips?
Choose concise stories, strong opinions, practical steps, and answers that work on their own. Give each clip a fast opening, enough context, and a natural ending. Podcast to Video can identify promising moments, generate captions, and format clips before review.
Start Your Video Podcast and Make Every Episode Work Harder
Learning how to start a video podcast is about building a process you can repeat: choose a focused concept, capture clear audio and stable video, edit with purpose, and turn the best moments into content that travels beyond the full episode.
Start with the equipment you have, improve one recurring weakness at a time, and plan for repurposing before the conversation begins. Video Cutter AI can handle much of the repetitive clip discovery, captioning, and formatting work, so one thoughtful recording can support your content calendar long after the full episode goes live.